
Adding images to your page is a simple process, but there is more to it than just inserting an image on the page.
It is tempting to copy an image from one place and paste it to your site. RESIST! Not only can a pasted image disappear at any time because it is dependent on a source over which you have no control, but you can break your webpage by pasting an image that is not properly referenced.
Note: it is recommended that you add your text before adding images.
Note: You must use this process to add a picture to your site. Pasting in an image that you have copied may appear to be added, but it will not function correctly.
Place your cursor at the beginning of the paragraph where you want the image to display.

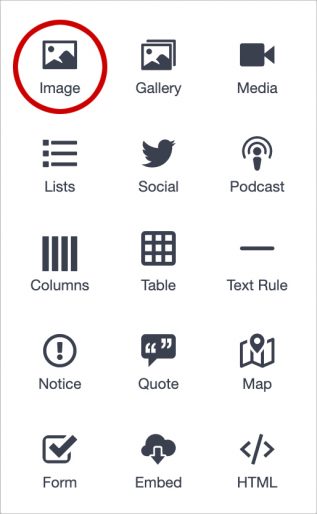
Click the plus sign that displays to the left of your cursor and choose the image option from the popup display.
You will see a list of files from your computer. Navigate through this list until you find the file you wish to add to your page. You can double click the file name or click it once to select it, then click the 'open' button. The image will load. Give it a few seconds to adapt to the size of your screen.
Note: Images will add margins for themselves. This makes it easier to add text later.
Format the Image
Once your image is loaded you have several options. Click on the image and a black admin bar will pop up. This bar contains:
Click the edit link to:
The popup image format bar contains three justification icons. Left, Center and Right
By default the image will enjoy its own space - the full width of the space into which you are inserting the image. You may choose to change this by using the Justification links.
If you Justify the image left, text and images that follow the justified image will wrap to the right.
If you justify the image right, the text and images that follow will wrap to the left.
You may also center the image.
The size of the image will adjust to the Justification you choose.
If you change your mind, just click the justification link again to undo it.
Hint: sometimes the image uses more space than the text associated with it. All text and images under the right or left justified image will wrap. To prevent this, create a column that is only one column wide and put your text and image inside the column. See Creating Columns for more details.
The two small side to side arrows will allow you some sizing options.
Image size used in conjunction with Justification may produce unexpected results.
Original image size will affect the way it displays on a page.
Try clicking through the sizes to decide the best view of any specific image.
Simply click the image to open the admin bar and click the trash can!
Publish!